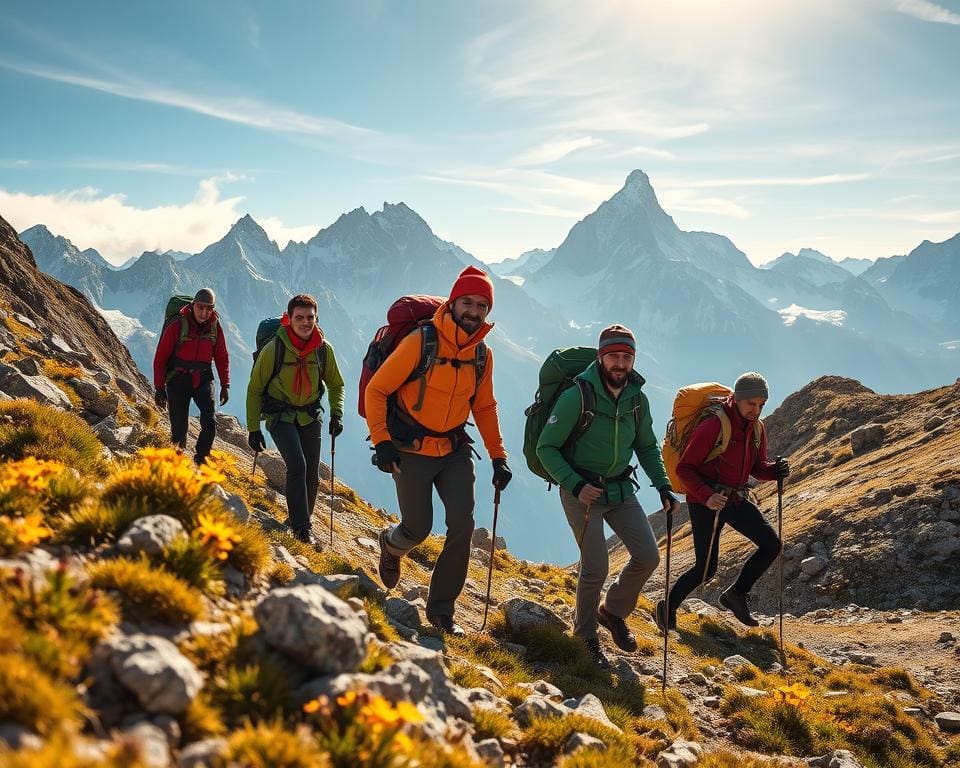

High altitude hiking begins to pose real physiological challenges above about 2,500–3,000 metres, where thinner air, colder temperatures and rapid weather changes all matter. In practical terms, preparing for high altitude means more than packing warm layers; you must manage reduced oxygen that raises the risk of acute mountain sickness (AMS), high-altitude cerebral oedema (HACE) and high-altitude pulmonary oedema (HAPE).
Individual susceptibility varies, so you should treat altitude preparation as both a physical and medical task. Assess your fitness and health, plan gradual ascents and learn the symptoms of altitude illness such as persistent headache, nausea and severe fatigue.
This guide is organised into four clear parts to help you prepare: preparing your body (health checks, acclimatisation, training, nutrition and rest); essential gear and clothing; practical safety measures; and planning and logistics for mountain trekking UK and beyond. Each section gives evidence-based, actionable advice and high-altitude trek tips you can use whether you are aiming for alpine routes or multi-day passes.
If you are an active hiker or hillwalker from the United Kingdom planning moderate to challenging treks in the Alps or Himalaya, this guide is written for you. Consult established bodies such as the British Mountaineering Council, NHS guidance on altitude illness and your local mountain rescue service before you set out.
For an example of a classic high-altitude route and the kind of acclimatisation it demands, see this account of the Everest Base Camp approach for further context and planning ideas.
Continue to the next section to begin practical, evidence-based steps on preparing your body for high altitude hiking.
Preparing your body for high altitude hiking
You need a clear plan before you set off. Start by learning the common altitude sickness symptoms and AMS signs so you can recognise altitude illness early. Acute mountain sickness is usually mild and includes headache, nausea, dizziness, fatigue, poor appetite and difficulty sleeping. More severe conditions, labelled HACE HAPE, require urgent descent and medical care.
Understanding altitude sickness and symptoms
AMS can affect fit people and seasoned trekkers alike. Risk rises with rapid ascent and above about 2,500–3,000 m. HACE presents with severe headache, confusion, poor coordination and altered consciousness. HAPE shows as breathlessness at rest, a persistent cough sometimes with frothy sputum, chest tightness and falling exercise tolerance. Use a pulse oximeter to track trends but do not rely on it instead of clinical judgement when you recognise altitude illness.
Acclimatisation strategies and schedules
Altitude acclimatisation depends on time and a gradual ascent plan. Above 3,000 m, limit sleeping elevation gain to 300–500 m per day and build in rest days trekking every 3–4 nights or every 600–1,000 m of gain. The climb high sleep low tactic boosts adaptation by returning to a lower camp to sleep after day climbs.
An acclimatisation schedule for a Himalayan-style trek might include staged overnight stops with intermediary lower-elevation nights. For Alps-style alpine routes, you can use huts and town stays at 2,500–3,000 m to stabilise before pushing higher. If you arrive by vehicle at high altitude, rest 24–48 hours and follow a conservative gradual ascent plan.
Fitness training: aerobic conditioning and strength work
Good preparation reduces strain at altitude. Aim for at least 8–12 weeks of aerobic training for trekking to raise VO2 max and endurance. Include long steady sessions of two to four hours, plus hill training, stair repeats and interval work. Hill training with a weighted pack simulates real demands.
Complement cardio with strength exercises for hiking. Focus on squats, lunges, deadlifts, core stability and hip strength. Add eccentric work and balance drills to cut injury risk. A sample week should mix aerobic sessions, strength work and a long loaded walk, with progressive loading and rest days trekking to recover.
Nutrition and hydration plans before and during ascent
Metabolic demands shift at altitude. Your basal metabolic rate rises, appetite often falls and you will use more carbohydrate. Plan altitude nutrition that meets energy needs trekking and supports recovery. Aim to build good stores during training with 3–12 g/kg carbs per day depending on load, and 1.2–2.0 g/kg protein daily.
Hydration at altitude is vital. A rough guide is 3–4 litres per day depending on exertion and conditions. Follow pre-exercise guidance and replace sweat losses: small amounts during shorter efforts and around 400–800 ml per hour on long intense days, with electrolyte balance high altitude in mind. Post-training rehydration should replace about 150% of fluid lost over the next two to six hours and include sodium to aid retention.
Use real foods and trusted products. Portable options and recovery drinks such as chocolate milk or tailored mixes help meet carbohydrate and protein goals. Practical tips and ready-to-consume choices can be found in the linked guide to active lifestyle foods for trekking which foods suit an active lifestyle.
Rest, sleep and recognising when to stop
Sleep at altitude often suffers because of periodic breathing. Track sleep quality as part of your acclimatisation routine. Schedule rest days trekking and protect sleep hygiene: warm layers, not eating heavy meals before bed and small magnesium-rich snacks may help.
Recognising limits is crucial. Stop ascent at the first worrying AMS signs, rest, use supplemental oxygen if available and consider medication after discussing options with your GP or travel clinic. Acetazolamide can speed acclimatisation and reduce AMS incidence. Dexamethasone treats HACE and helps severe AMS temporarily but never replaces descent. You must descend if symptoms persist or worsen, or if HACE HAPE signs appear. Pre-agree turning points with companions and leaders so decision-making is straightforward when time matters.
Essential gear and clothing for high altitude hiking
You need kit that copes with sudden change. A well-planned layering system hiking strategy keeps you warm when moving and protects you in storms. Choose mountain clothing layers that can be added or shed quickly so you stay comfortable and safe as conditions shift.
Layering system for changing mountain conditions
Follow the three-core principle: a base layer mid layer shell approach. Start with merino or technical synthetics next to the skin for moisture management. Add mid layers of fleece, synthetic or down for insulation at altitude.
Use Primaloft or other synthetic fills when damp conditions are likely. Reserve high-fill down (800-fill or above) for dry, very cold spells and pair it with a reliable outer shell. Carry a light softshell for active periods and a packable down jacket for stops, camp or emergencies.
Take thermal hat, balaclava and layered gloves: liner, insulated gloves and a waterproof shell. Protect your eyes with sunglasses offering high UV and glacier lenses and apply high-SPF sunscreen. For design ideas on mixing textures and function try a practical guide like creative layering ideas.
Footwear, crampons and traction devices
Choose boots for high altitude that match the route. Stiff-soled, insulated mountaineering boots are best for technical ground. For less technical treks, robust walking boots with solid ankle support may suffice.
Match crampons to your boots and terrain. Ten- to 12-point crampons suit general mountaineering and mixed routes. Decide between step-in, semi-automatic and strap-on designs and confirm toe and heel welts fit. Practice fitting before you go.
Carry microspikes for icy trails and reserve automatic crampons for serious glacier travel. Add waterproof gaiters to keep out snow and debris. Wear merino or technical socks and consider double-layer socks or taping for long descents.
Backpack essentials: navigation, shelter and emergency kit
Pack trekking backpack essentials with weight and packability in mind. Use dry sacks to separate mountain clothing layers and keep sleeping kit dry. Carry a hydration bladder and spare bottles, plus attachment points for ice axe use and crampons.
Include navigation for mountains: map and compass plus the skill to use them. Add a GPS device or smartphone with offline maps such as Gaia GPS, spare batteries and a power bank. Plan escape routes and know refuges on your line of travel.
Your emergency kit high altitude should include a comprehensive first aid alpine pack, blister care, prescribed medications for AMS if required and a whistle or signalling mirror. For remote trips, carry a satellite communicator like Garmin inReach or a PLB.
Choosing technical equipment for snow, ice and wind
Specify technical kit to match the route. An ice axe for self-arrest is essential on steep snow. Choose a technical axe for very steep or mixed terrain. Select helmets for mountaineering where rockfall or glacier hazards exist.
For glacier travel, use glacier travel gear: harness, ropes, prusik loops, slings and crevasse rescue equipment. Train in rope techniques and crevasse rescue before you rely on them. Carry avalanche safety equipment — transceiver, probe and shovel — and take avalanche training if you will be in snow-prone terrain.
Bring repair spares: duct tape, cord, spare laces and stove repair items. Choose a tent rated for alpine conditions or know where mountain huts sit on your route. Match sleeping bag and mat to expected night temperatures and weight limits. Seek formal training from Mountain Training UK or the British Mountaineering Council to use technical kit competently.
Practical tips and safety measures for high altitude hiking
Before you set out, research your route and seasonal hazards thoroughly. Use Met Office and Mountain Weather Information Service forecasts, check local conditions with national park offices or guide services, and file an itinerary with someone at home with agreed check‑in times. Good planning for a mountain trek UK should include pre‑booking refuges, arranging acclimatisation stops and listing evacuation options.
Manage the group and pace conservatively. Hike with experienced companions or hire a qualified guide from reputable associations, set clear decision rules, rotate leadership to reduce fatigue and avoid rapid ascents. For high altitude safety, monitor symptoms closely, keep hydration and calorie intake steady, and carry basic repair tools and a lightweight first‑aid kit in an accessible place.
Know emergency procedures high altitude before you leave. In the UK, call 999 and ask for Police then Mountain Rescue; carry a PLB or satellite messenger and ensure everyone knows how to use them. Learn simple triage and stabilisation for altitude illness and have a clear plan for evacuation. Insure yourself with a policy that covers helicopter rescue and any altitude limits or technical climbs you may encounter.
Reduce risk and respect the environment. Use helmets on mixed terrain, avoid travelling alone in remote areas, and consider porters or pack animals to lower your load. Follow Leave No Trace principles, manage human waste correctly and respect local regulations. Finally, pre‑fit and test all equipment, pace yourself, and be ready to change plans if conditions or health demand it.